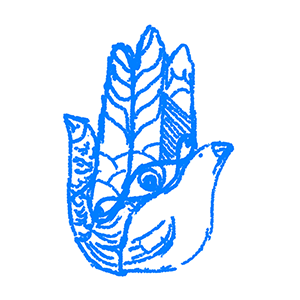
In the beginning I wanted to try and sketch some rough ideas using the one-line style, just starting at one point and then moving along the rest of the image without lifting the pencil from the paper. The results were interesting, but still not what I was looking for. but it's always a fun exercise to try.
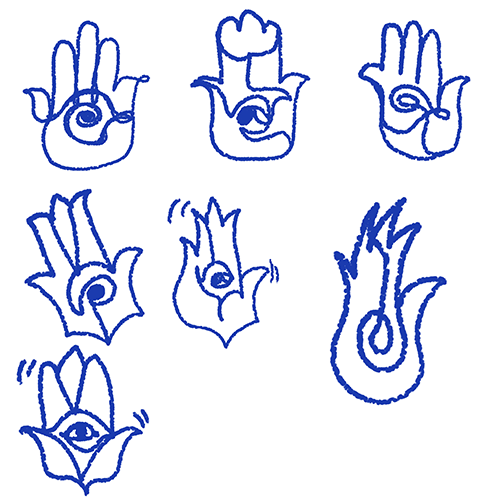
After the first attempt, I kept trying other ways, and eventually I arrived to a lineart of the exterior of a Hamsa, that I proceeded to fill in with different ideas. Ultimately, the one that made the most sense was more geometrical than organic, so on that idea I kept iterating and trying out things such as empty and filled spaces, color contrast and such.

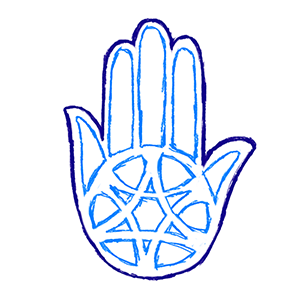


Now, as I found the road I wanted to follow, I decided to go back to pencil and paper. Using grid paper as the guide and the good old HB pencil, I started sketching and changing the idea once more to incorporate other elements that I wanted present like making the Magen David more predominant and adding a sun and a moon.
The process was slow but in the end the almost final idea came to be as it can be seen on the Hamsa on paper.
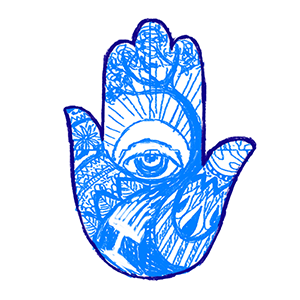
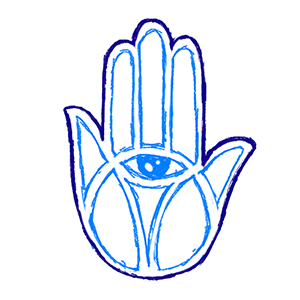
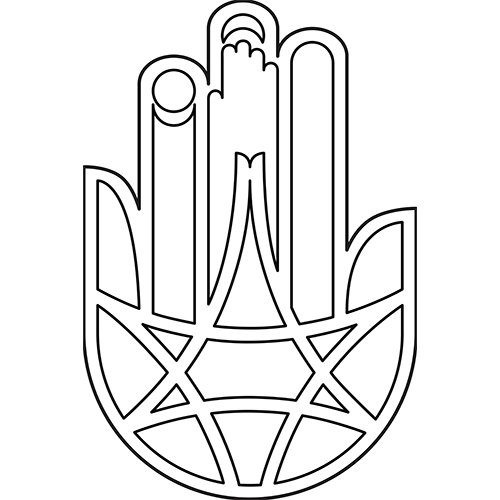
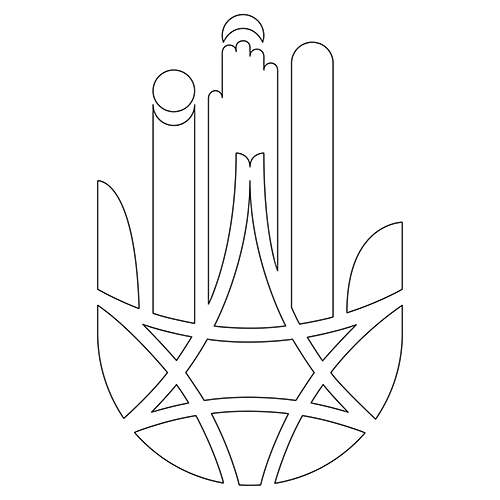
The next five smaller images are the first digital recreations of this image. Here it can be seen how the design was changed many times, trying to find what best fit the shapes created. I tried thinner and thicker outlines, filling in the lines, working with negative and positive space, and even erasing the outer line of the design.
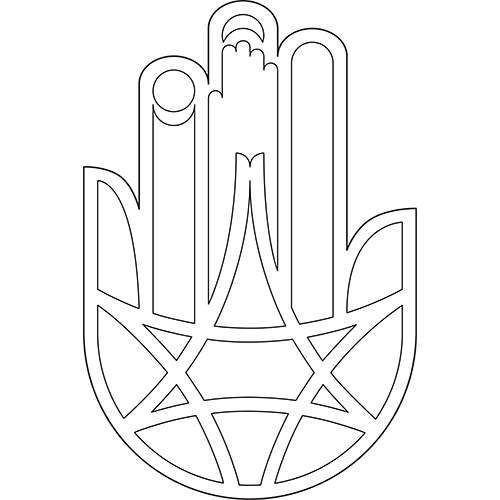

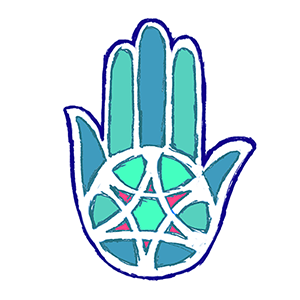
But ultimately the final design was this, with the outer line being thicker and helping to emphasize the typical hand shape and thinner lines for the inner shapes so the eye can navigate through all of the details without being overwhelmed.
All the elements that should be there were finally incorporated and integrated one with each other and the composition was finally done.
The final design has been finished and has since then seen many color adaptions and textures incorporated to see how far the design could be taken.

Thank you for your time learning about my Hamsa study.